Pass Blayer's Traffic Pro Install - '95 M3
December 25th, 2004
Before installing the Traffic Pro, I did the following:
- Researched online, especially the Traffic
Pro Users website and the Traffic
Pro Users Yahoo! Message Group.
- I ordered the BMW Traffic Pro (Model 4771) with new software and Becker-BMW wiring harness from Tony at Becker (1-888-423-3537 ext 1224).
- I ordered the BMW Radio Removal tool (P/N: 82 11 1 466 971) from Pacific BMW for about $10.
- I special ordered the green wire (P/N: 61 13 0 007 452) from Fremont BMW for about $2. I tried 3 different BMW parts departments and it was a special order from all of them (Pacific BMW had it for $1.25).
Thanks to the group and especially the install instructions on
the webpage, the install went smoothly and was a great success! :)
The two hardest parts of the install were pulling the old
head unit out and pushing the new Traffic Pro in all the way.
The old head unit's plastic connector for the wiring harness was
slightly raised, so it was getting stuck on a lip when I tried to pull
it out.
As for pushing the TP in, the big mess of wires with the new wiring
harness was getting in the way, so I couldn't push the unit in far
enough. I ended up removing my instrument guage cluster, so I could
pull the wiring harness wires out of the way from the side. After
that, the TP slid in effortlessly.
Hooking up the wiring harness, soldering the GAL wire, and hooking up
the radio antenna were a piece of cake. I didn't hook up the reverse
wire, nor did I connect the CD changer (I have a 95, so no I-BUS). I
stuck the satellite antenna as far as I could behind the the TP and
behind the center vents. So, it's basically under the dash as far
forward as I could reach through the head unit hole. I get anywhere
from 6 to 9 satellites while driving around.
The radio sounds much better than my stock head unit. I have the new
software and the upgrade took awhile, but went without incident. I
did not drive the car while the upgrade was in progress.
The calibration was quick and painless (I only drove the car when I was
asked to do so).
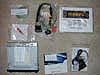 |
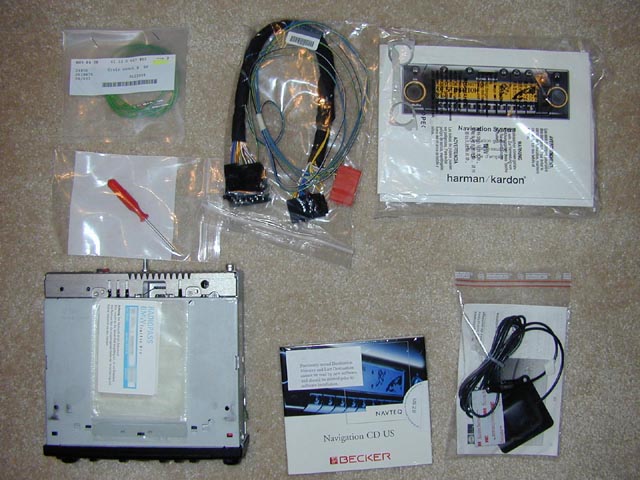
Parts needed for the Traffic Pro install - Traffic Pro unit, Green Wire, Radio Removal tool, wiring harness, antenna, CDs, manuals |
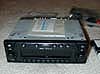 |
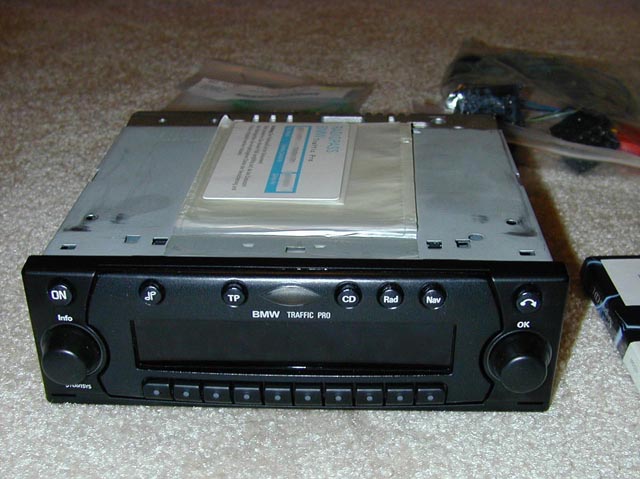
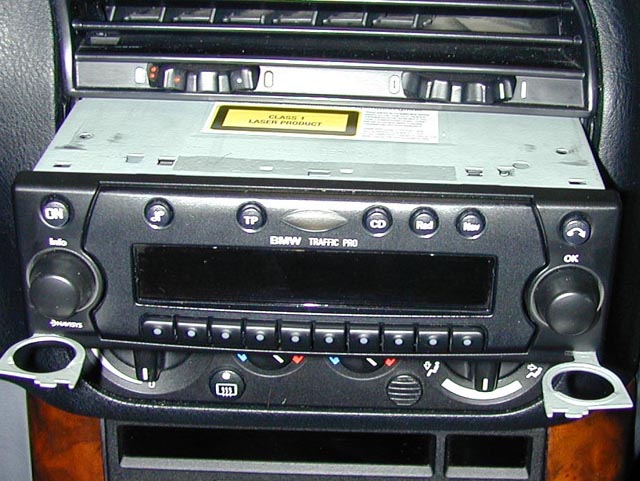
The Traffic Pro head unit to be installed. |
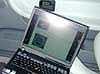 |
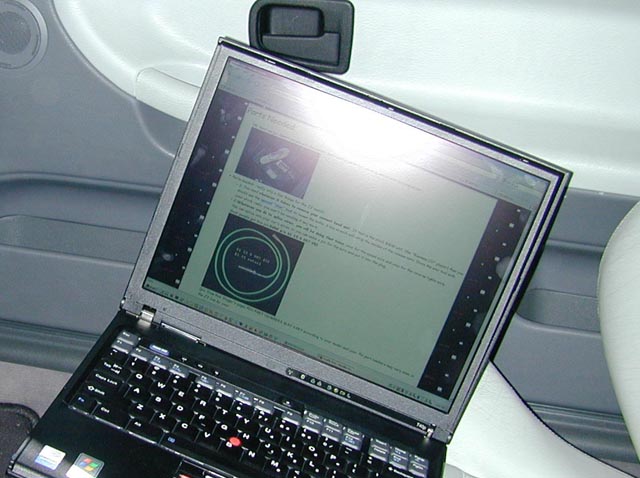
I read the install instructions on Rachel's site a few times and even had a laptop with me for the install. :) |
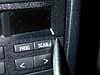 |
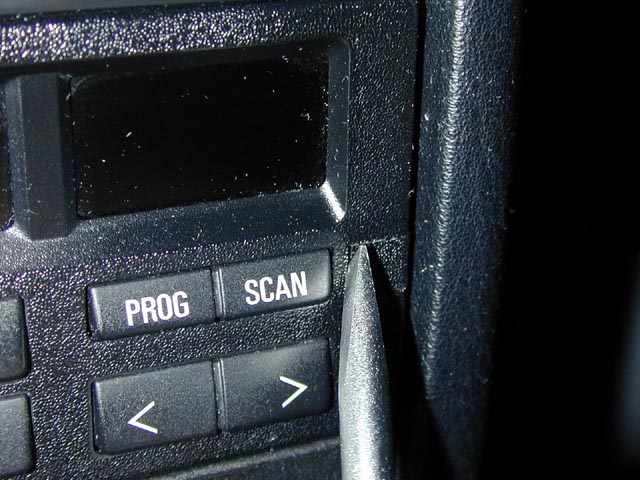
First, I pried open the little cover on my head unit using a flat head screw driver. |
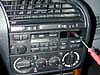 |
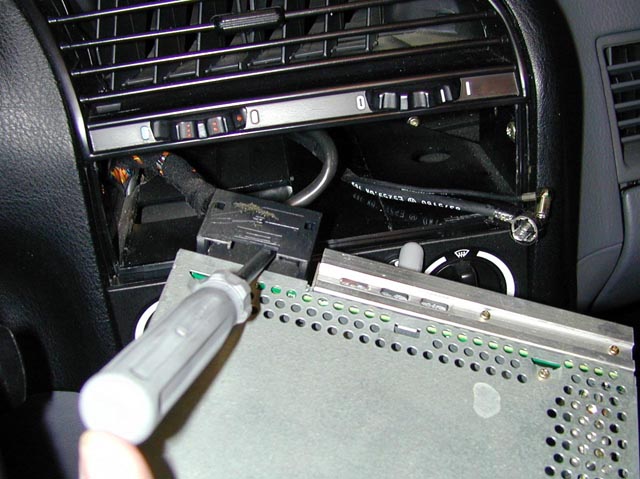
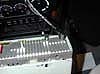
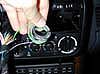
Using the BMW radio removal tool, I unscrewed the head unit so it could be pulled out. |
 |
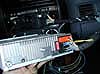
I disconnected the radio antenna from the back of the original head unit. |
 |
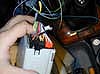
I used a flat head screw driver to pry up the connector for the BMW harness before disconnecting the harness. Since the connector was slightly raised already, I had a tough time even pulling the head unit out this far, but eventually got it with some wiggling. |
 |
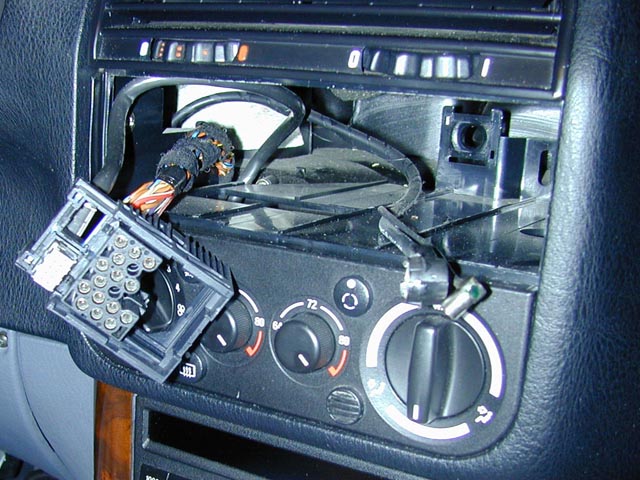
The old head unit is now disconnected, leaving the wires that will be hooked up to the Traffic Pro. |
 |
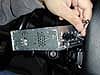
This little "finger" should be removed and put on the back of the Traffic Pro. This is suposed to be part of the head unit's anti-theft security system. |
 |
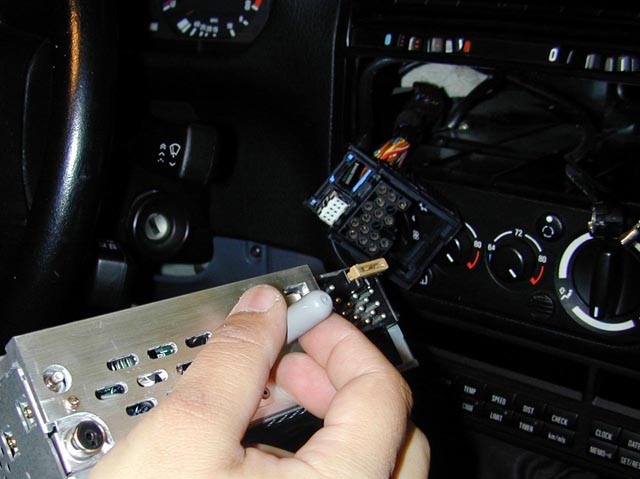
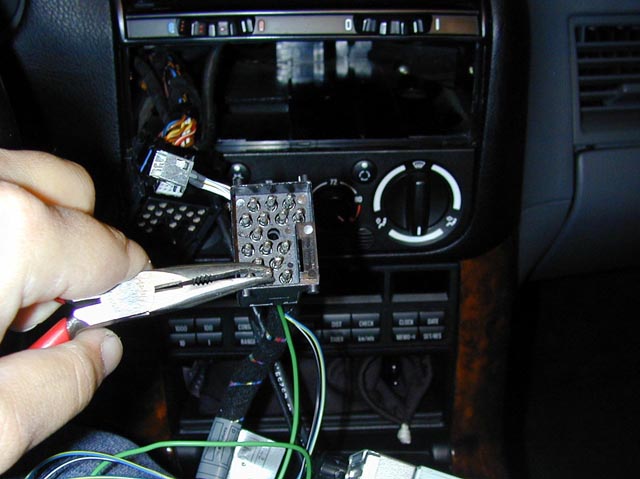
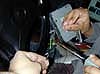
I couldn't just push the "male" end of the green wire into the Becker wiring harness connector, I had to use pliers to pull it through. This creates pin #10 on the Becker harness that connects to the BMW wiring harness. |
 |
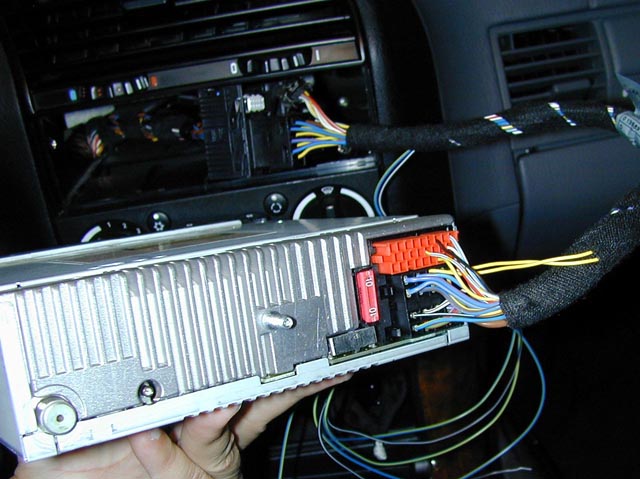
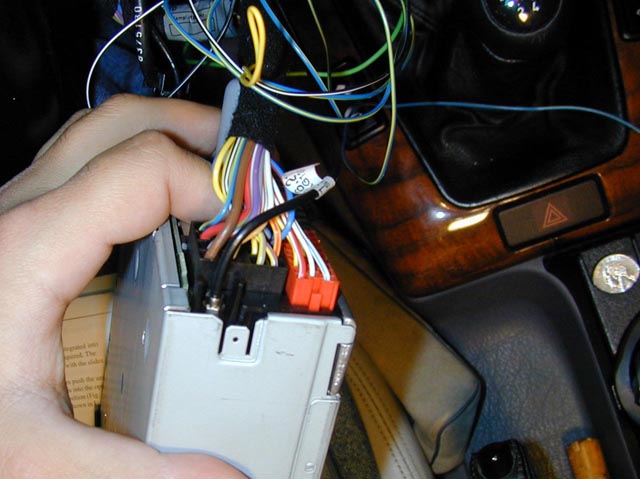
Becker wiring harness connected to the head unit. |
 |
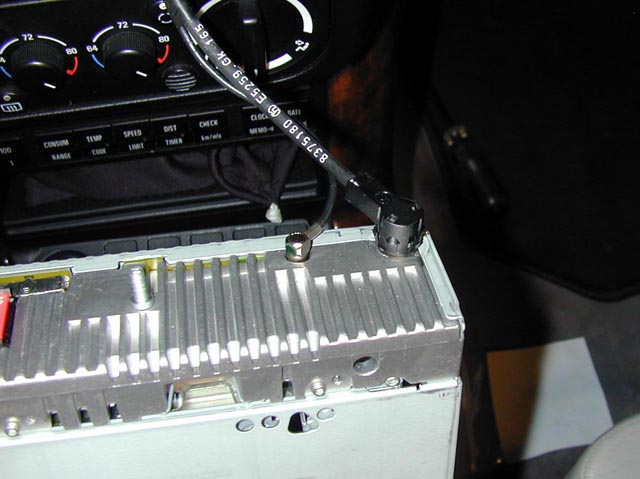
Radio antenna connected to the back of the Traffic Pro. |
 |
Anti-theft finger from the old head unit screwed onto the back of the Traffic Pro. |
 |
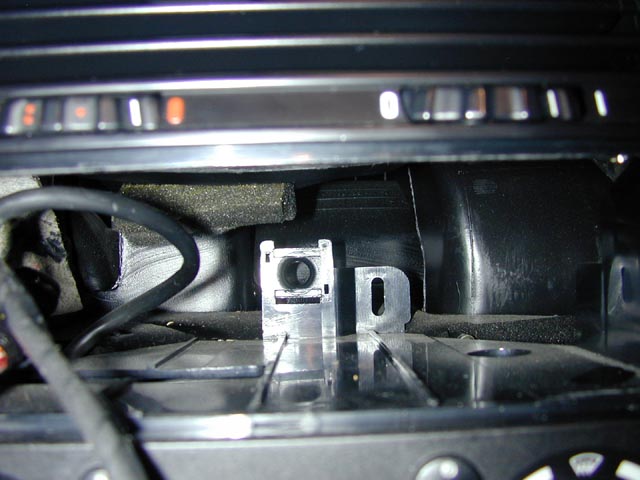
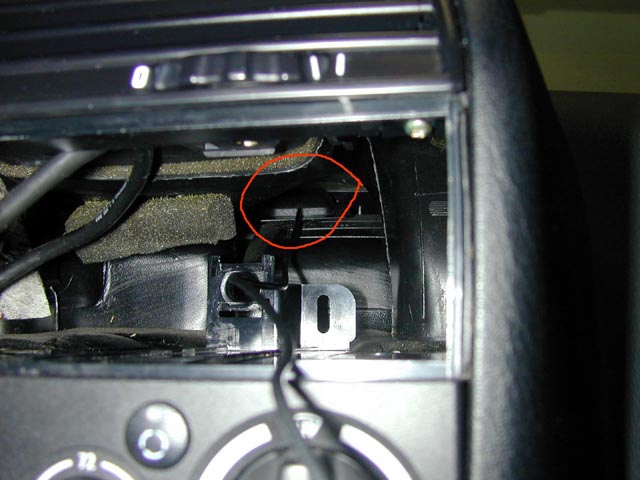
Here's where that "finger" from the previous picture goes in. On my car, it didn't look like there was any wiring connected to the hole, so I'm not sure if it really does anything except provide support for the head unit. :) |
 |
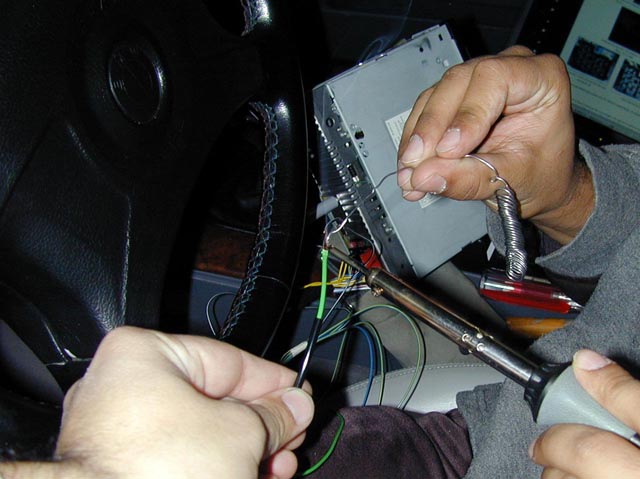
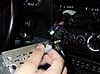
Soldering the green BMW wire to the GAL (speed wire) on the Becker wiring harness. |
 |
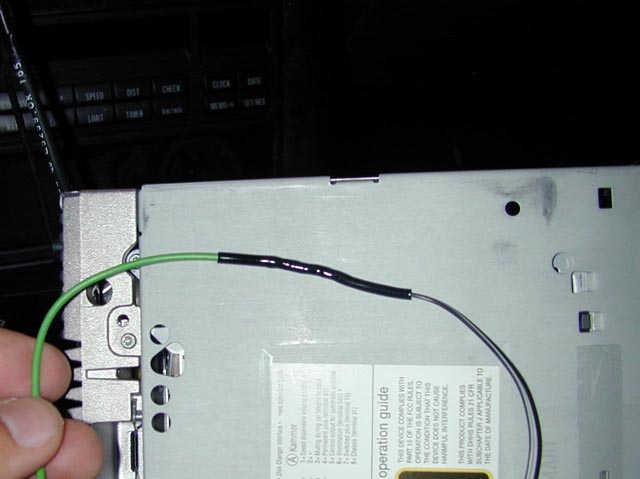
Shrink tubing over the soldered wires. |
 |
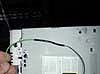
Satellite wire connected to the back of the Traffic Pro. |
 |
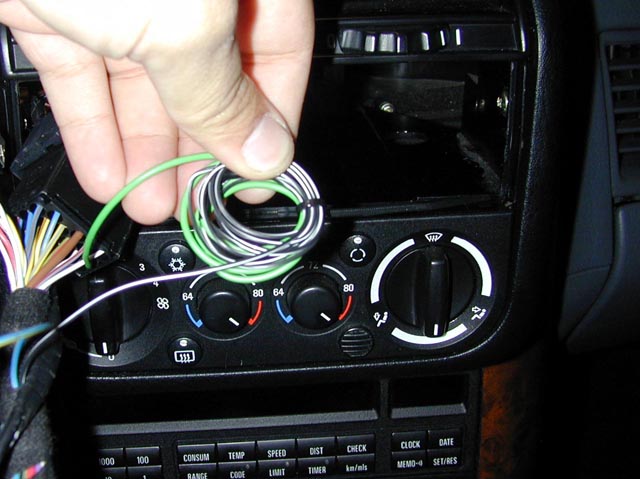
I zip-tied the extra wiring slack, to keep things neat. |
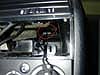 |
I placed the GPS satellite antenna as far back into the hole as I could reach. It is basically right under the dash and can usually pick up 6-9 satellites while I am driving around. |
 |
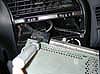
Puishing the head unit. The spring loaded tabs on the side of the unit can be adjusted, so the unit will sit flush with the rest of the center controls. |
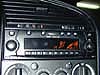 |
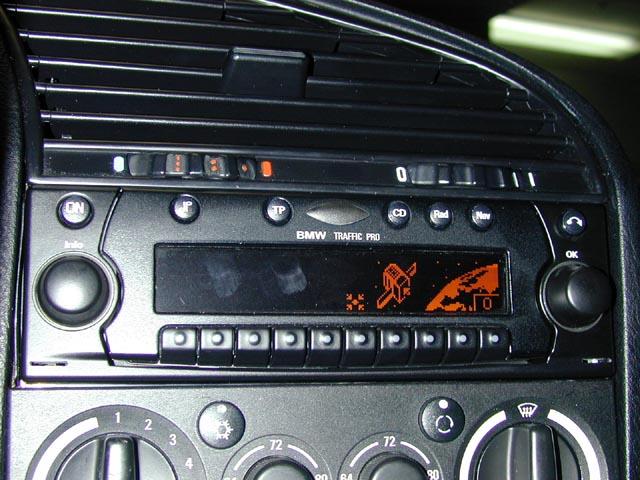
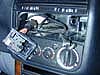
The Traffic Pro is installed and ready to go! I'm in my garage, so it's not picking up any satellites. |
Additional notes from Nadeem:
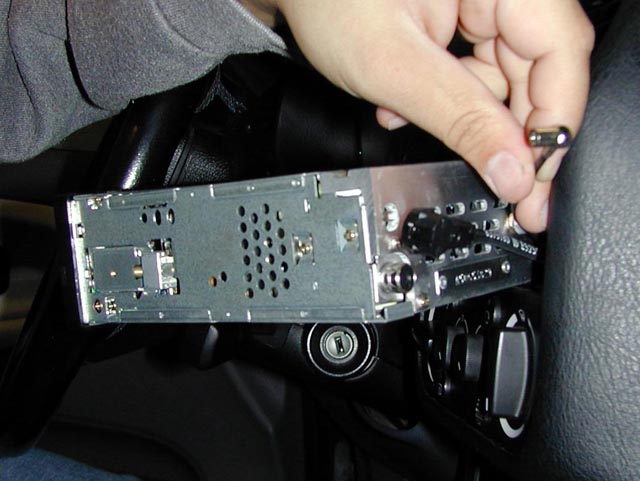
I have a E36 M3, '95. On my car, you need to remove two torx screws
at the top of the cluster. I then shimmied the cluster around until
it came loose, and pulled it out on one side. I kept the cluster behind
the steering wheel the whole time, but made enough room for me to stick
my hand in on the left side so I could read the wiring behind the Traffic
Pro. I didn't take pictures of this step during my initial writeup that
is on Rachel's webpage because I didn't think of doing it until a few
days later. Here's are some links that might help: http://mysite.wanadoo-members.co.uk/bimmers/clusterbulbs.htm
http://forums.bimmerforums.com/forum/showthread.php?t=305456
Good luck, Nadeem |
 back to Traffic
Pro Users page
back to Traffic
Pro Users page Esmerelda's Home Page~ Z3ers.com
all material on these pages is copyrighted
Esmerelda's Home Page~ Z3ers.com
all material on these pages is copyrighted