|
Prep work: |
|
Record the ride height at all four wheels. Measure from the center of
the wheel vertically to the top of the fender arch. On my 2000 Z3 2.8,
each corner was at 14.5"
Make sure you have the needed tools at hand:
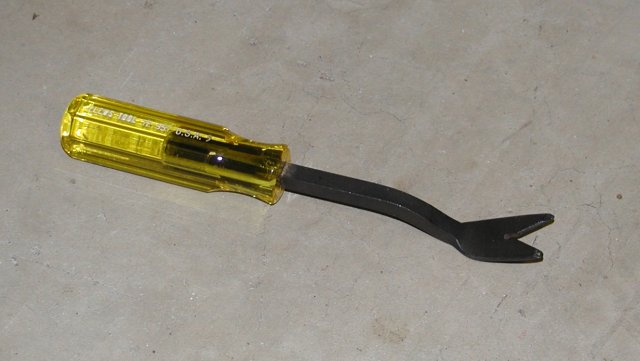
- Trim removal tool
- 3/8" drive metric socket set with various extensions
- 1/2" drive metric socket set with various extensions
- Torque wrench (10-80 ft/lbs will work)
- Metric open-end wrenches
- Pry bar (12"-24" long should do)
- Hydraulic floorjack
- Jackstands (2)
- Gloves are nice to have
|
|
Interior work, upper shock mount access: |
|
Raise the convertible top
Using interior trim removal tool (see photo), carefully remove the four trim
buttons in the top well just below the rear window. These secure the
carpet that covers the upper shock mounts. Using the proper tool
will allow you to reuse the fasteners. You can also use a flat-bladed
screwdriver to do this, but most likely you will damage the fasteners
and have to replace them.
The top edge of the carpet is held in place in a downward-aiming
'C' channel. Starting at the front edge (near the door jamb), pull the carpet
downward and away from the channel working around until you get to the
opposite side. |
 |
|
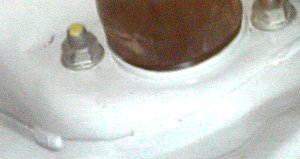
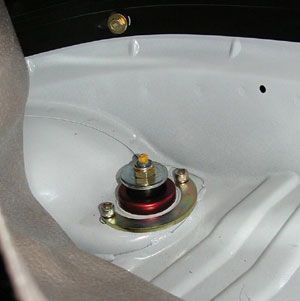
Fold the carpet away from the rear "corners" to expose the upper
shock mount bolts. The carpet will seem stiff, but folding it against
its original shape didn't seem to cause any harm or creases.
Using a 14mm socket, loosen but do not remove the two (per side) flange nuts.
There is a soft rubber cap over the end of the shock; gently work that
off the top of the shock and over the top washer.
Sorry about the poor picture, but you should be able to make out the
two shock mount nuts/bolts (one partially out-of-frame), and the
rubber cap over the end of the shock.
|
|
|
Lifting the car: |
|
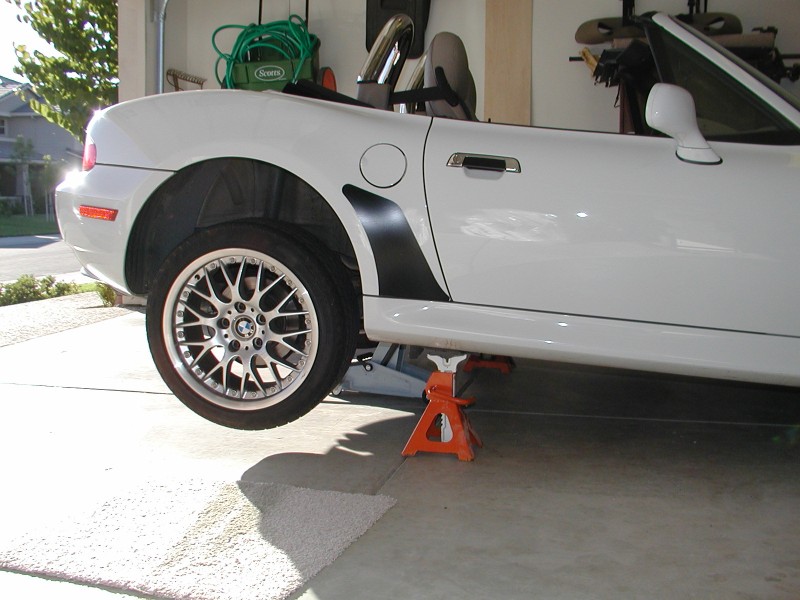
Chock the front wheels.
Using a floorjack on the cross-member just ahead of the differential,
carefully lift the car until you can place jackstands under both rear
jack points (just ahead of the rear wheels)
Lower the car gently onto the jackstands |

|
| Disassembly (per side): |
|
According to some accounts, removal of the rear coils can be done without
disconnecting the CV joint from the differential. The Bentley service manual
explicitly warns that doing so may damage the CV joint. Everyone I've talked
to since has said we wasted our time... no need to worry about this. Regardless,
I've included the instructions below. Instructions specific to this will be
highlighted with this color.
|
|
Remove wheel (17mm) -- Note the approximate height of the hub center off
the ground.
Use the floorjack to support the rear trailing-arm
Remove (2) top shock bolts (14mm)
Remove lower shock bolt (17mm). Have someone hold the shock body
to prevent it from dropping when the bolt is removed.
Using a 13mm wrench, remove the bolt securing the anti-roll bar to the
trailing-arm. This makes subsequent steps a bit easier. |
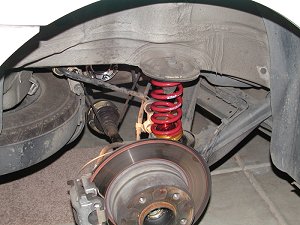
| Support the inboard end of the drive axle using a
piece of heavy wire or strong bungee cord
Using an E12 socket, remove the six bolts securing
the upper CV joint to the differential. It will help greatly to have
someone set and release the hand-brake during this operation.
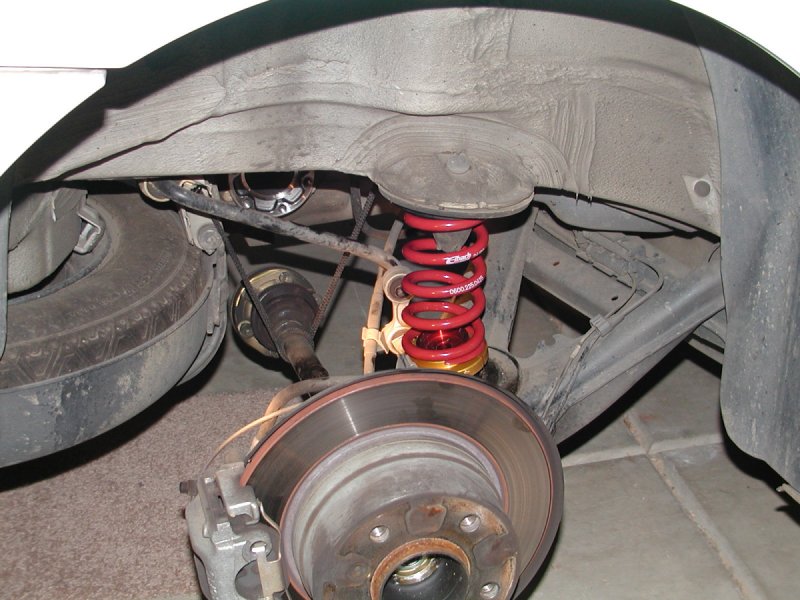
In the photo, you can see the half-shaft unbolted and supported by a
black bungee cord.
Note that the photo was taken after installing the Ground Control coils.
|  |
|
Gently lower the floorjack supporting the trailing-arm end.
The coil will still be under a small amount of compression, but it can
be removed using a pry bar to lift and push the lower end off its
mount.
Remove the lower spring pad (rubber); leave the upper bump-stop in place.
|
|
Re-assembly: pretty much done in reverse order |
|
Again, instructions specific the half-shaft reinstallation will be
highlighted with this color.
|
|
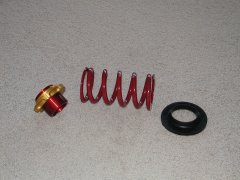
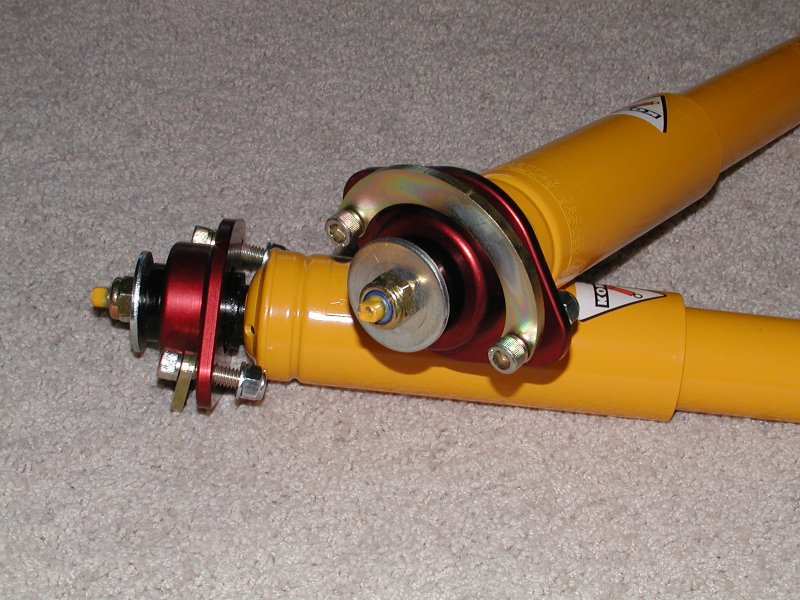
Parts familiarization: (left-to-right)
- Height adjustment sleeve with the lower coil seat in place
- Eibach coil
- Upper coil seat
|
 |
|
Place the height-adjustment sleeve (reddish color) over the lower
coil centering post. Spin the coil seat onto the sleeve and tighten
the locking bolt. I set mine so there was about 3/8" of sleeve
above the collar, and this yielded a 1/2" drop in ride height. The
amount of drop you experience will vary according to the spring-rate
of the coils in your package.
Slide provided rubber seat around the upper bump stop (friction should
hold it in place), and fit the coil around the bump stop. Align the
lower end of the coil with the seat/adjustment collar.
|
 |
|
Using the floorjack, raise the trailing-arm making sure the coil and
seats stay aligned. Raise the arm back to the position noted earlier.
|
|
Bolt and torque the inboard end of the half-shaft to the differential hub
and remove the cord/wire used to support it.
|
|
Re-attach the anti-roll bar... you can use the floorjack to help
align the bracket to the arm.
|
|
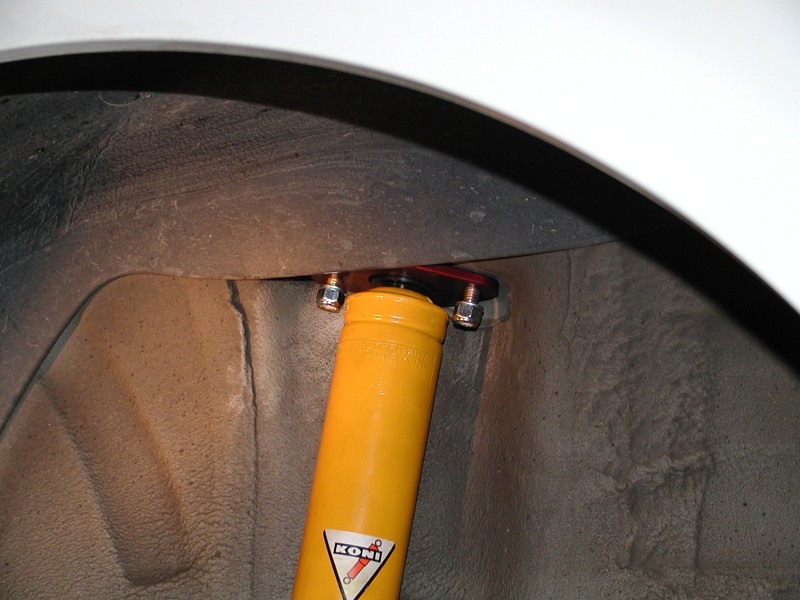
Place the Ground Control upper-shock mount bracket in the top well with the
bolts extending downward through the body.
In the photo, this is the 'C'-shaped piece with the two allen bolt
heads. The allen bolts are pressed in place and will not spin. You
will NOT need to use an allen wrench when securing the shock mount.
Note in this picture that the shock has been installed.
Thinking back, it might've been a good idea to use a small dab of
silicone adhesive to hold the bracket in place.
|
 |
|
The rear shocks mounts will already be assembled to the Koni shocks.
Ground Control also pre-set the rebound adjustments for me.
|
 |
|
Transfer the gasket from the original upper shock mount to the new
Ground Control shock mount.
Position the upper end of the shock/mount up into the fender well so the
bolts from the top-mount bracket extend through the shock mount. If you
are careful, you can do this without having anyone hold the upper bracket
in place.
Thread on the supplied lock-nuts and torque appropriately.
Extend the shock so the lower mount hole aligns with the mount
on the trailing-arm.
Bolt the lower end the shock to the arm using the original bolt placing
a washer between the bolt head and the shock.
NOTE 1: You may need to supply your own washers (12mm or
1/2" will do). Apparently, some cars have them, some don't. Mine didn't.
NOTE 2: There is some question as to whether the washers are required
or not. I've talked with a number of people who feel they are not at all
necessary in this application.
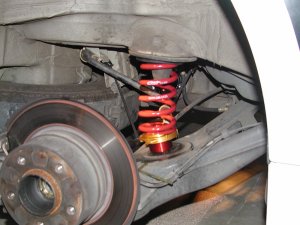
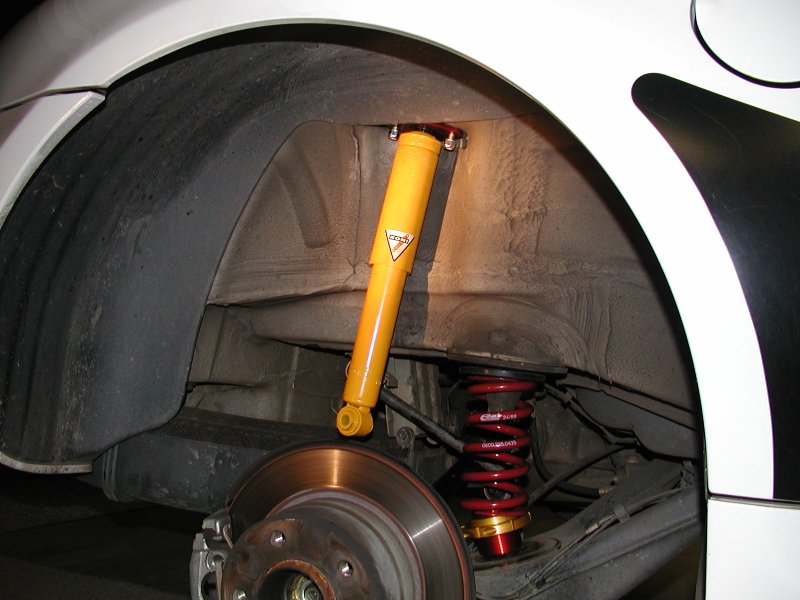
Torquing this bolt should be done with the suspension under load. This
can either be done when the car is back on the ground, or you can use the
floorjack to lift the trailing-arm until the jackstand is almost free.
The driver-side is not too difficult to get to, but the passenger-side
is partially obstructed by the spare-tire carrier.
The lower end of the shock is not in position in the lower photo.
I just wanted to provide a wider view.
|


|
|
You can now gently lower the floorjack supporting the trailing-arm. I
replaced the rear wheels when both sides were complete in case I needed
to check measurements or make adjustments.
Fit the rubber caps over the top end of the shocks in the convertible
top well.
Fold the carpet back into place making sure the top edge gets fitted
into the 'C' channel.
Re-insert the four (4) trim fasteners by just pressing them into the
holes until tight.
Double check that no tools have been left inside the top well.
|
|
Wrapping up: |
|
Once both sides are complete, double check that all bolts have been
properly torqued, and that the ride-height adjustment collars are in
approximately the same settings. Mine were about 3/8" from the top
and this yielded a 1/2" drop in ride height.
Replace the wheels are torque the lug bolts.
Using the floorjack, lift the car off the jackstands and pull them
clear. Gently lower the car to the ground.
Take the car for a short test drive to settle the suspension in
place.
Take note of the new ride-height and make adjustments as needed. This
can be done as follows:
- Jack up the side of the car to unload the suspension.
- Loosen the adjustment-collar locking bolt.
- Spin the collar to either raise or lower the coil seat.
- Retighten the locking bolt and lower the car back to the ground.
|


 Esmerelda's Home Page~ Z3ers.com
© Rachel Corey Katz
all rights reserved
Esmerelda's Home Page~ Z3ers.com
© Rachel Corey Katz
all rights reserved