| Siren
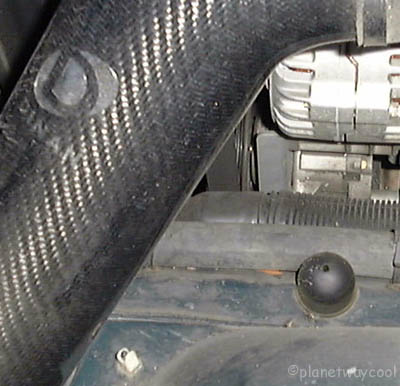
placement We didn't do any front bumper siren installs, we did engine compartment siren installs. Air Box Installation As luck has it, there is a perfect place under the airbox. First, remove the airbox. There is one nut to loosen and two clips to undo. There is a small rubber hose clipped to the top of the box. Pull it off and you can remove the airbox assembly without any interference. The airbox sits on a little rubber bumper like a mushroom. Moving forward and towards the left front along the chassis, right before you get to the headlight, you will see a ~3/8 inch hole in the chassis. There is enough room behind to insert a bolt. Get a bolt that fits the hole and a nut and a lock washer. Remove the bracket from the siren. It's triangular. Drill out the top right hole in the bracket to fit the bolt (holding the point down and the curved part up and the siren mount up). Bolt the bracket using the hole in the chassis so that the point of the triangle faces forward and down. Loosely fit the siren on and position so that it faces forward and down. You will see that it clears the airbox and alternator pulley with no problem. Remove the siren, bolt down the bracket tight and mount the siren. Replace airbox. |
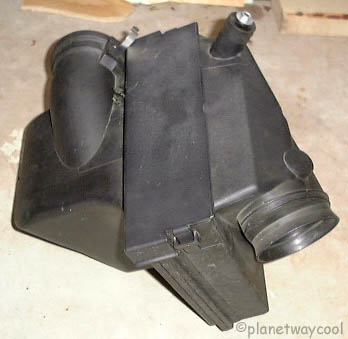
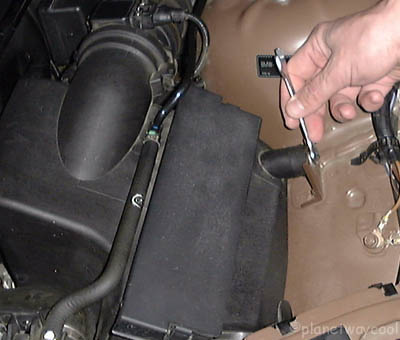 Dave T has the standard BMW airbox in his 2000 2.3. Loosen a nut... |
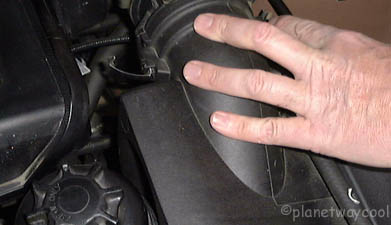 Release the clips... |
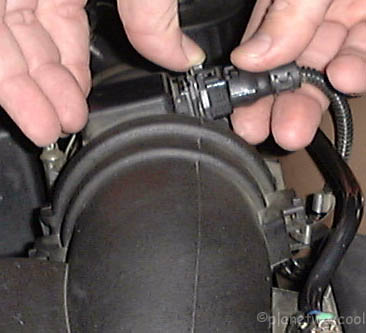 Release the connector... |
 Gently pull aside the hose... |
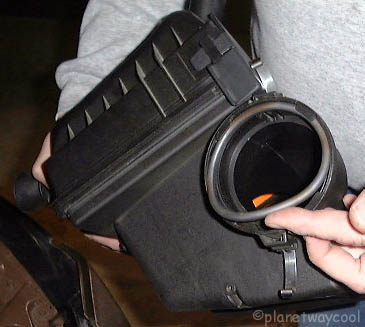 Be careful not to dislodge the gasket ring... |
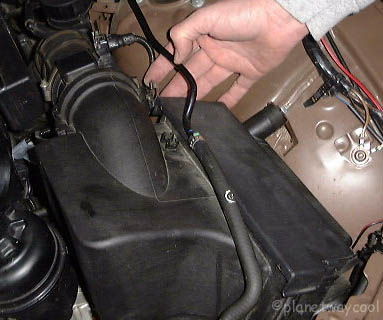
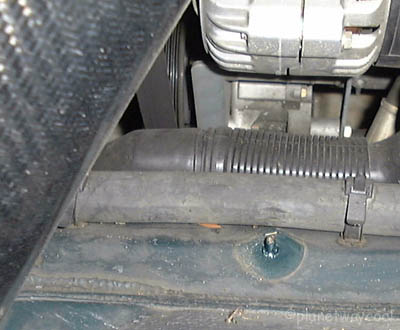
 And set the airbox aside |
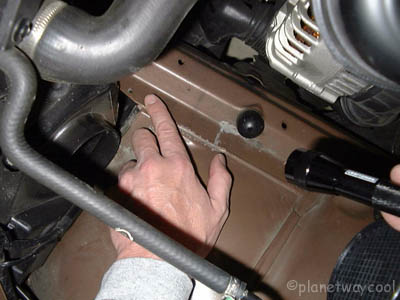
 All this to get a clear shot at a good location to attach the siren |
Update
March 5, 2001 Tom M writes: On the 1.9 L, there's room for the siren on the fender by the airbox. No disassembly is required. The bolt that holds on the airbox will also hold on the siren bracket. 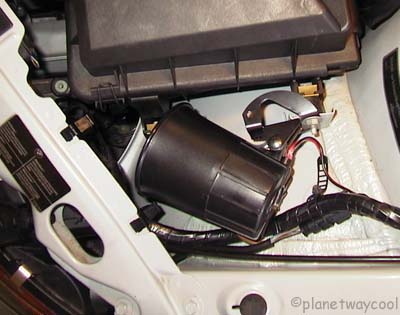
On mine, you had to bend the siren bracket, this is an Alpine siren so I'm not sure about the Ungo unit. There's plenty of room so just about any siren should work fine. |
|
|
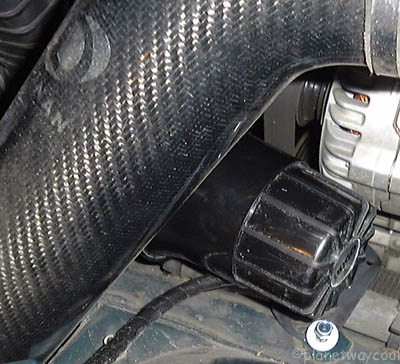
 This was un-fun. I was so worried the bolt would get loose, Dave T had no leverage with the wrench... He left it like this----> and fixed it with a 10mm deep well socket extension when he got home 3 hours away... |
|
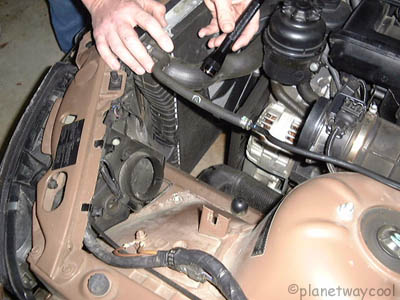
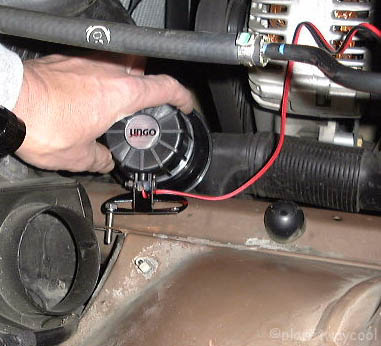
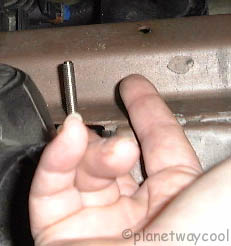
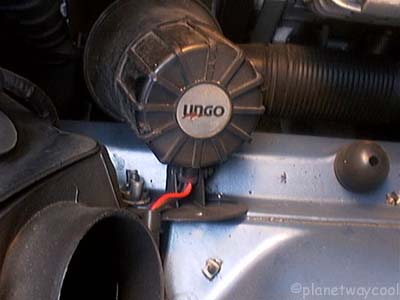
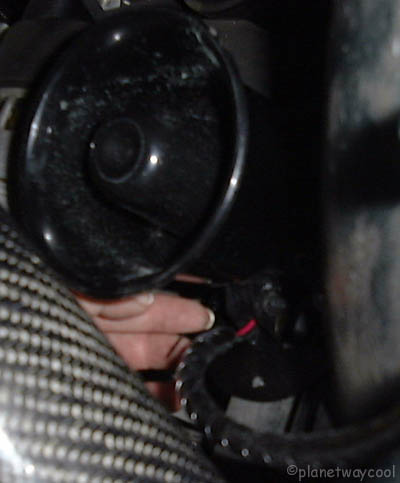
Having a Cold Air Intake makes it easy :) that little rubber head is for the standard airbox... |
I can unscrew it and use the built in bolt to secure my siren, without removing anything. Harvster already drilled a bigger hole in the bracket of the siren for the bolt |
Dave T tightened the nylon nut with the 10mm deep well socket he brought. It would have taken me a year. |
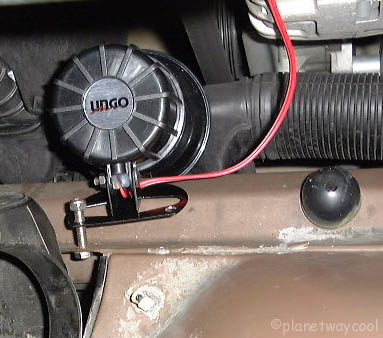
Harvster got his in Zoe this way. Just make sure the siren points down enough so water splashed up into it will drain out. |
 Then it's time for tie wraps |

and lots of spiral wrap... |
| Feed the siren wire up through the opening adjacent to the left hand headlight assembly. Continue routing the wire parallel with the left hand forward cross member brace and along the left hand front fender, parallel with the existing wire harness till you get it to the master cylinder area. NOW we have to locate the existing factory siren connector. It may be hanging below the master cylinder or fuse box, it may be taped to existing wires. Its color is gray and has a two prong female connector with a black cap covering the female end Find it? I decided to just cut off the connector and use the bullet connectors to join the wires together. Red siren wire to blue connector wire then black to brown. |
| Repace airbox. If large black rubber gasket stayed on the tube in the engine, remove it and fit into recess in the airbox. You may need to wet the tube with water to slide the airbox onto the tube. Clip the clips back on by pressing in the middle of the clip. Fit the bracket in and tighten the nut. Clip the thin hose back into the clips. Close the hood. |
| 3 Book Of UNGO Part 1 Plan Ahead~~ Part 2 So begins the search for parts~~ Part 3 Siren Placement~~ Part 4 Placing the LED, Cutoff Switch and Space Shield ~~ Part 5 Glovebox Kama Sutra~~ Part 6 UNGO CPU and Logic Sensor ~~ Part 7 Hardwiring~~ Part 8 Routing the V1 Power, Above and Below~~ Part 9 Setting Levels~~ Additional Information: Removing Console, Bumper Siren, UNGO Z3 Schematic, Wire Harness Basic System Diagram, Ziggy's UNGO Install |
 Esmerelda's
Home Page Esmerelda's
Home Pageall rights reserved |