| Routing the V1 Power, Above and Below |
Esteves
wrote an excellent article on removing and replacing the A pillars for
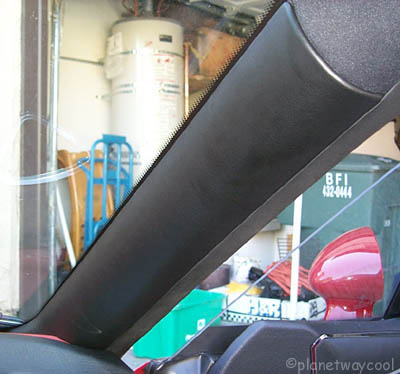
LeatherZ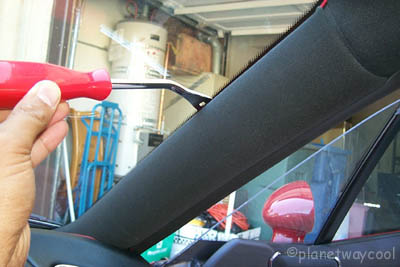 Run the V1 wire across the windshield using the gap that is already there. Right over to the A pillar that comes off easily. Just tug on the windshield side of the A pillar and it pops right off. This pic shows a tool you can use, but there is less chance of scratching the windshield without a tool, and it really is easy to pull off. I did it. |
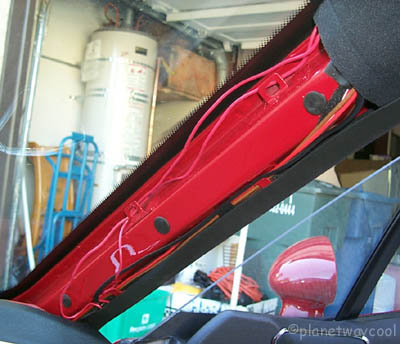
Esteves' naked A pillar. See the holes for the clips, and his V1 wire already tucked inside. |
 Just these two clips holding it on. |
To
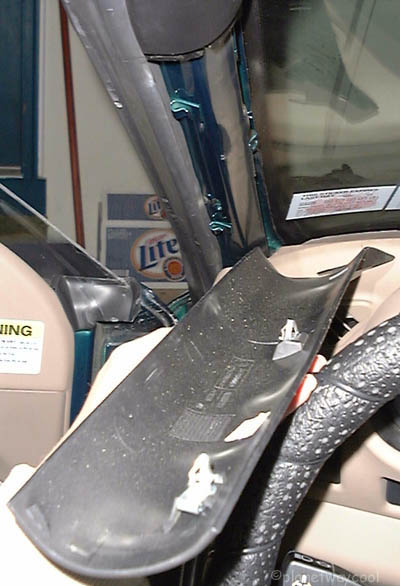
replace: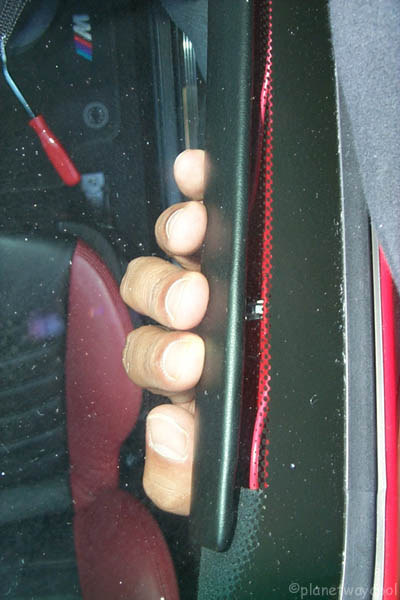 Note the flap sleeve at the end of the A-Pillar. This flap sleeve should align with the tab located on the dash. Patience is the key here. It may take a few tries before you are able to gently fit the flap sleeve OVER the tab. Do not force the A-Pillar as you may break the flap sleeve. |
 Be sure to note the grey, rubber-like weather striping material. As you align the flap sleeve onto the tab, note that the rubber material should go OVER the A-Pillar, not under. Well, I not only noted the weather stripping, I noted how great the LeatherZ A pillars looked, and ordered some for myself! JonM was surprised that the roadster A pillars not only come off like the M coupes, but also have no "fuzz" to strip. So now you can get leather A pillars for roadsters too! YAY! |
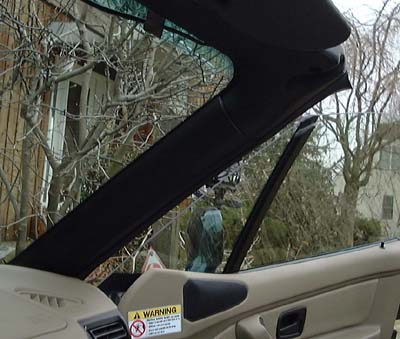 Here you can see the V1 wire hanging down from the windshield |
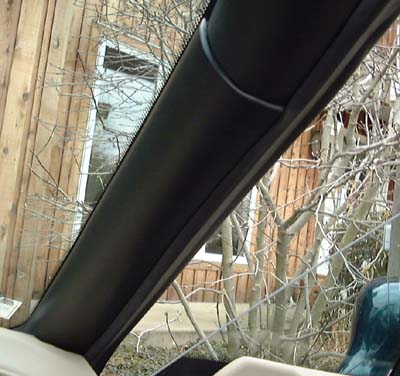 The right side fits perfectly. You can see the weatherstripping covering the LeatherZ A pillar. I am sorry I didn't get a shot of the crack down by where the windshield meets the dashboard, where fingers can not go, where the A pillar has to find it's spot to be in the slot on one side, and out of the slot for just the 1 inch tab. (Esteves calls this slot the "flap sleeve".) It's just one of those things, you guide it in and pray, and somehow, it just goes in. |
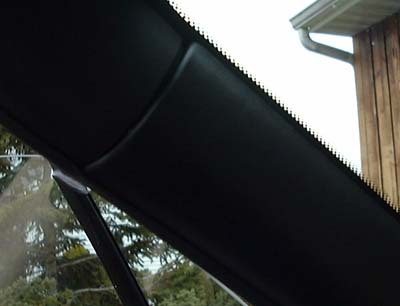 The driver's side A pillar doesn't exactly meet at the top. I am pretty sure it never did- but I have no picture. Someone let me know if they have the same gap? |
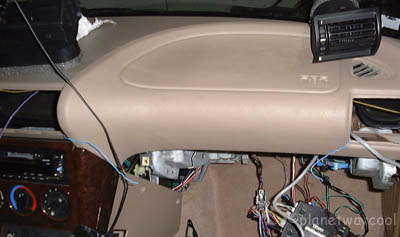
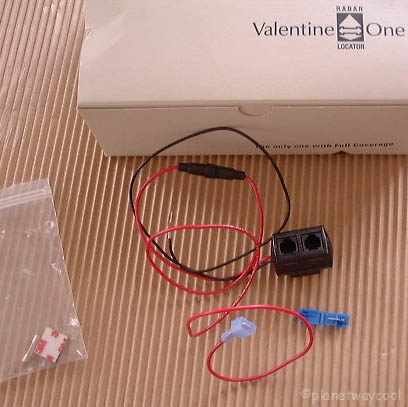 OK, so now you have this V1 adapter down by the gearshift. If you have gotten it power from the cellphone connector, (See Hardwiring Made Easy)You push it from the shifter area through behind the HVAC controls. That's as far as you need to go. Now we'll work on bringing the wire that you've brought down the A pillars from your V1. |
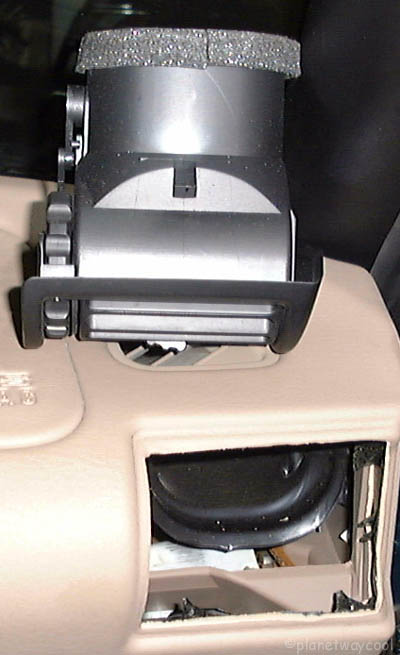
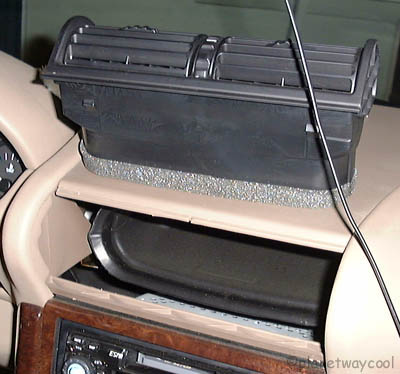
Finally I had something to contribute to the saga. Harvster had mentioned, "I removed the center and passenger heater vents. They just pull out." Begin by pulling out the right side vent. A flat head screwdriver under a corner and they slide right out |
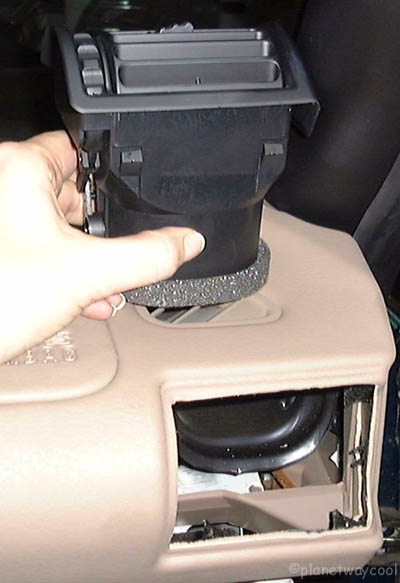
About the left vent, Earl writes on the bmw-z3 yahoogroups email list: It does pull out the same as described but there is a hidden screw which needs to be removed. It is a very small one and is located on the very top under the light switch knob back in a recessed area. It secures the vent part to a metal bracket. Once the screw is removed the vent just pulls right out with the help of the screw driver. |
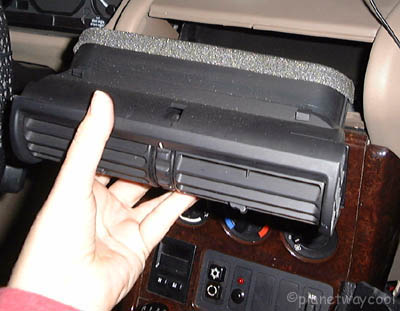
Same procedure for the center vent if you like |
|
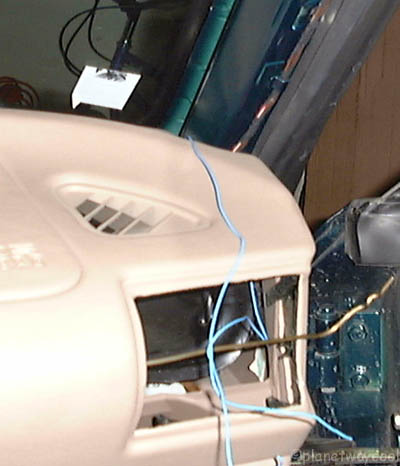
A blue wire shows the path from the A pillar to the side vent |
I was able thread two wires through the dashboard. The wire hangar was taking the high road, the blue wire took the low road. |
|
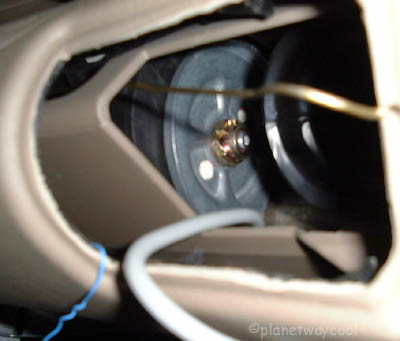
To take the high road, you have to thread it beginning from inside the second wall in the passenger vent. It's the low road you want for routing the V1 if you do it my way. |
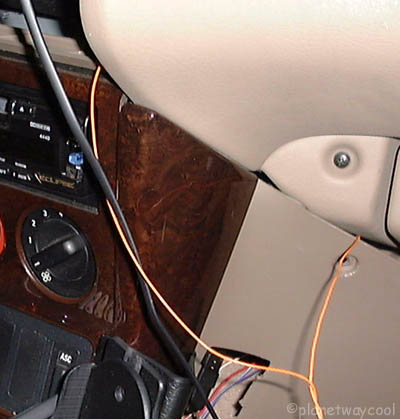
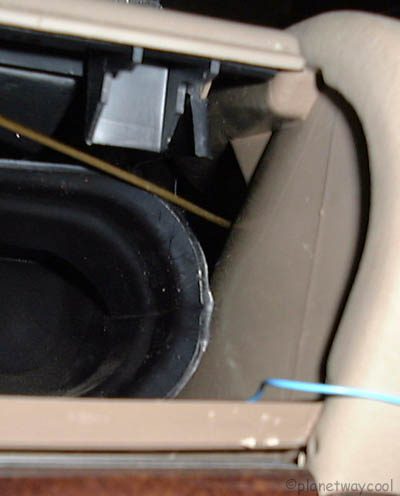
The orange wire shows you how to make the last step of the wire route from the V1 to behind the console where the V1 adapter is waiting. No slack, not tight, it fits well. |
| 8 Book Of UNGO Part 1 Plan Ahead~~ Part 2 So begins the search for parts~~ Part 3 Siren Placement~~ Part 4 Placing the LED, Cutoff Switch and Space Shield ~~ Part 5 Glovebox Kama Sutra~~ Part 6 UNGO CPU and Logic Sensor ~~ Part 7 Hardwiring~~ Part 8 Routing the V1 Power, Above and Below~~ Part 9 Setting Levels~~ Additional Information: Removing Console, Bumper Siren, UNGO Z3 Schematic, Wire Harness Basic System Diagram, Ziggy's UNGO Install |
 Esmerelda's
Home Page Esmerelda's
Home Page all rights reserved |